Please Note: Access to this section is only available to users with the access level MANAGE_CONTACTS
You can access the Contacts area via the link on the CHARMS Main Menu.
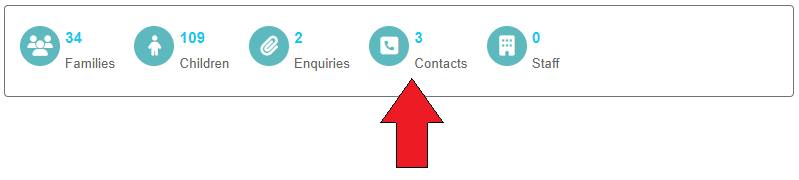
The Contacts section can be used for storing information against a 'contact' that might not apply to a child or family record, e.g. if your organisation needs to store details regarding a business tender or supplier the Contacts area can be utilised.
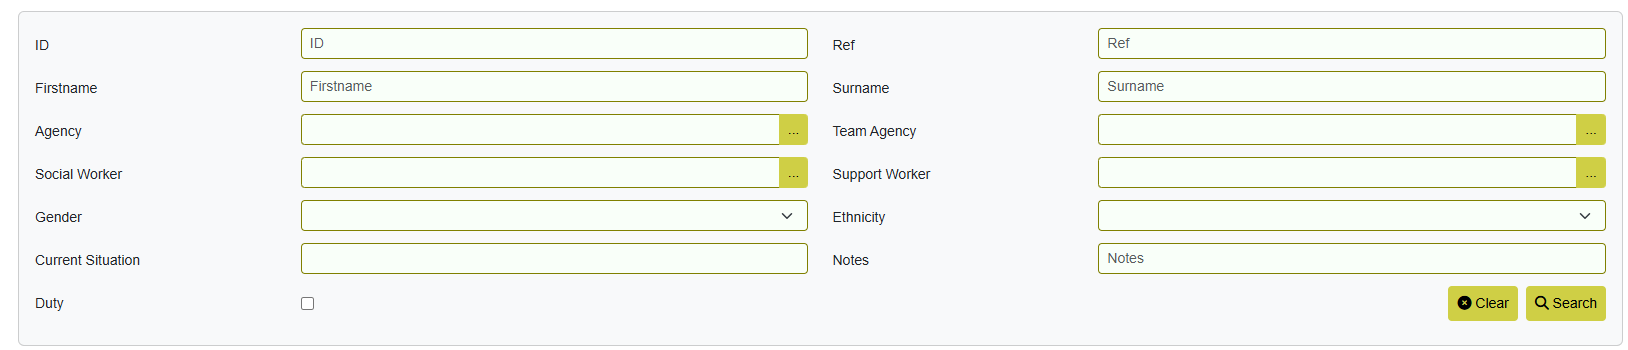
From the Contacts search screen, you can search by ID, telephone, first name, surname, town, county, status, region, agency, job title, keyword, company name, or service type.
Contacts can be added as either internal or external.
To view a contact record, click on the ID number in the search results. To add a new Contact, click the Add New Contact button. (This button will display as 'Add New Contact [External] when searching for external contacts, and 'Add New Contact [Internal]' when searching for internal contacts.)
¶ Send Message To
To send either SMS or E-mail to contacts, tick to select the contacts on the search screen, then click Send Message in the Status Bar. By default, the message will just be sent to the selected records, or to all if that option is selected.
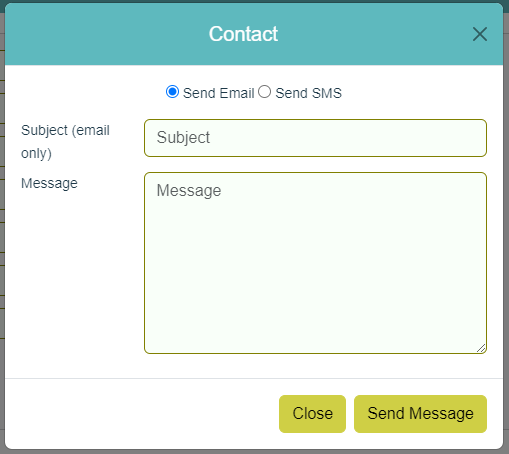
Choose whether the message is being sent as an E-mail or an SMS, then enter a subject (E-mail only) and a message, then click Send Message.
A progress item will be added to each contact.
¶ Contact Main Details
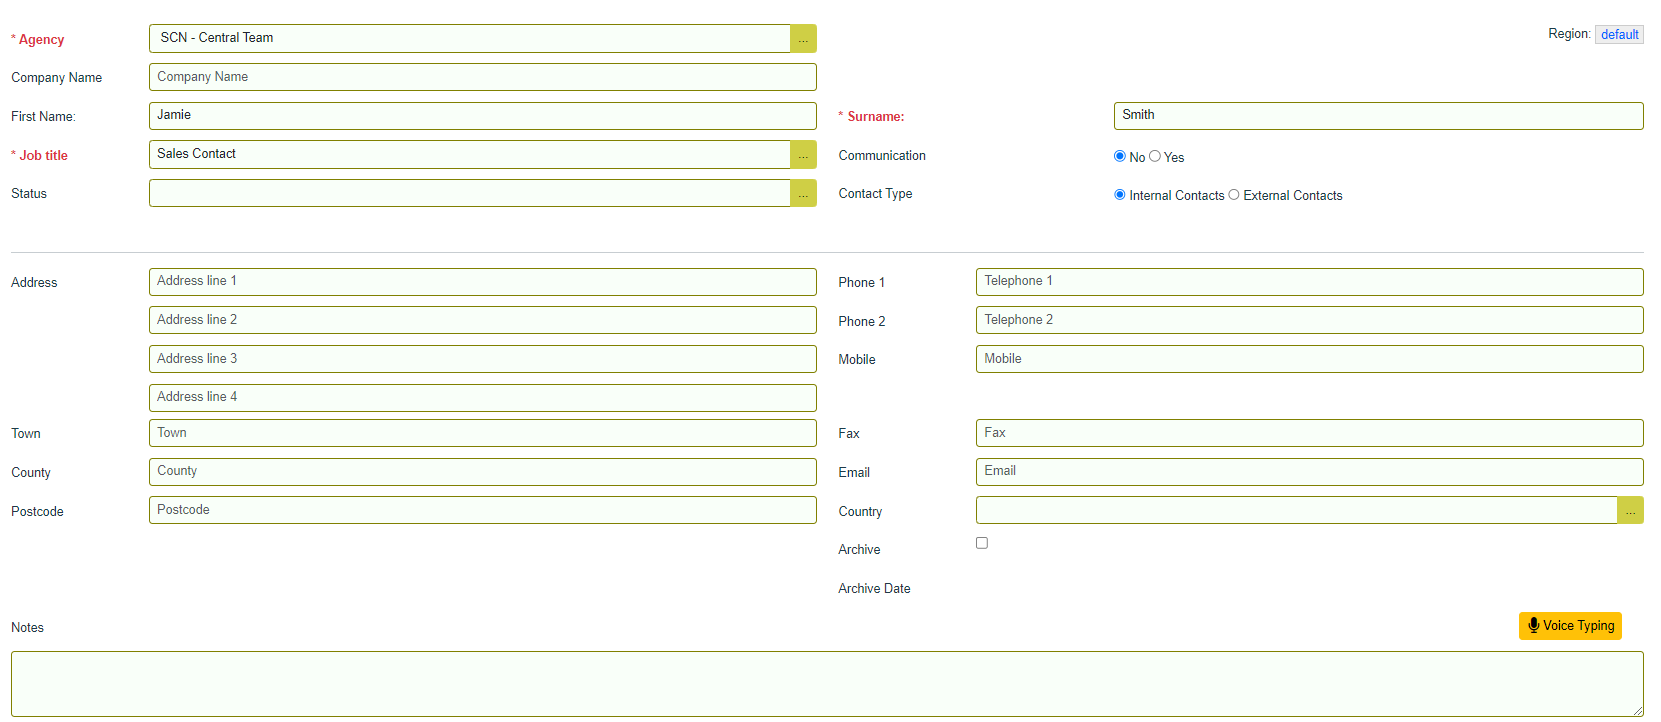
- Choose an Agency from the lookup list. If the Region field has been completed for the agency on the relevant lookup list, this will be displayed in the top right hand corner.
- Enter the Company Name, if applicable.
- Enter the First Name and Surname of the contact.
- Choose a Job Title from the lookup list.
- Choose a Status from the lookup list as to whether the contact is active or not.
- Enter the address, telephone numbers and email address for the contact.
- Enter any relevant notes.
- You are also given the option to record any marketing source details:

Click 'Save This Page' when done.
¶ Contact Progress
The Contact Progress screen can be used to log any activity specific to that practitioner.
To add a new action, click Add New. This will open a new window to add the action.
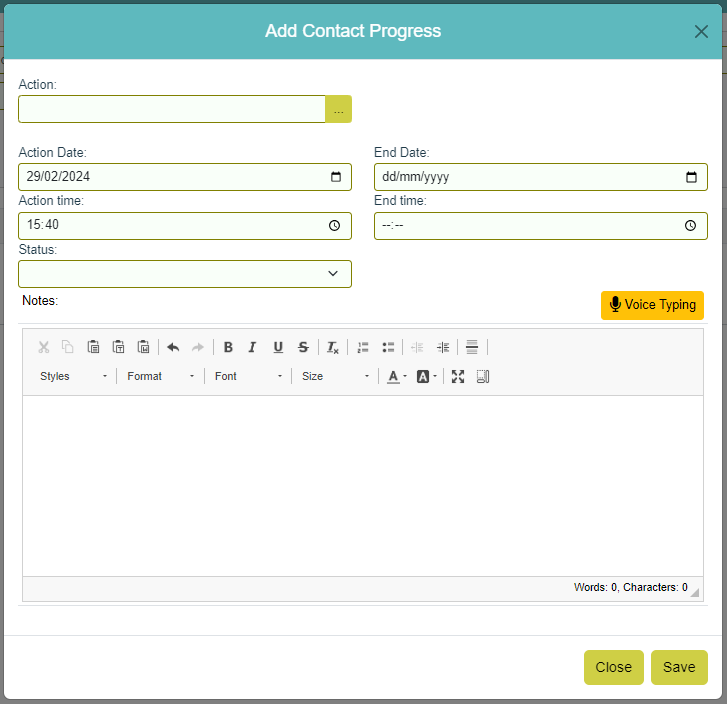
- Choose an action from the lookup list by clicking the ‘…’ button next to the Action field.
Please Note: the actions available on this lookup list are taken from the main Action lookup list, with the Contacts List box ticked. This can be amended by your User Manager or SCN Account Manager
If your chosen action has accompanying guidance, the 'View Action Guidance' link will appear.
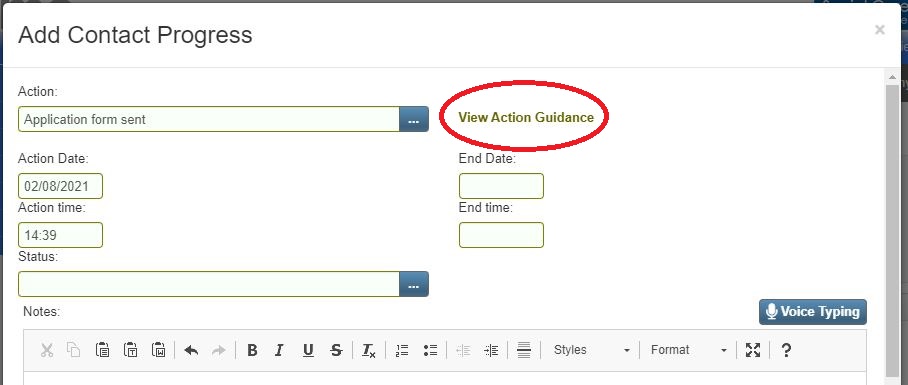
Clicking this link will open a box containing the guidance.
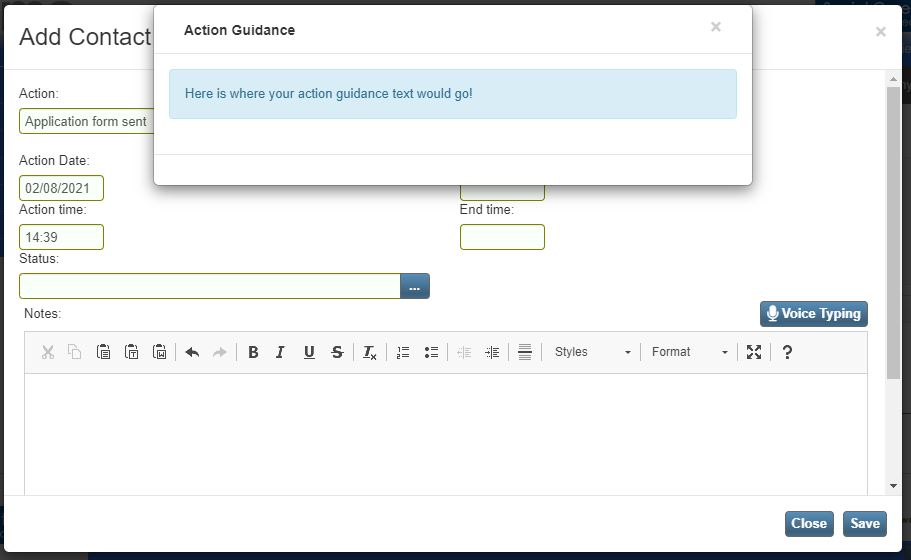
Action Guidance can be added to an action via the Main Menu > Other Options > Edit Lookup Lists > Action. For more information, please see the Edit Lookup Lists - Action page.
- Choose a Status from the lookup list by clicking the ‘…’ button.
- Enter the date and time of the action being recorded.
- Enter any relevant notes by either typing or using the Voice Typing function, then click Save.
Once a progress action has been logged, it will be visible in the Contact’s progress.
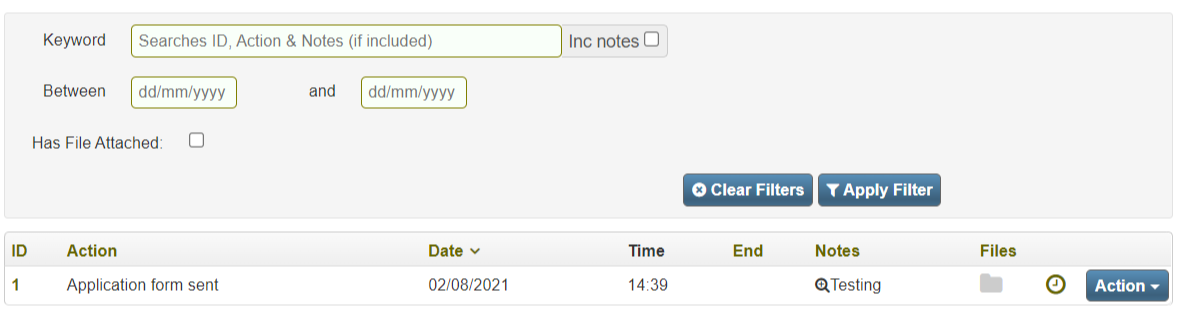
To attach a file to the progress action logged, click the file icon against the relevant row. This will open a new window. Click Browse to find the file, then click Upload.
Once a file is uploaded, the folder icon will turn yellow. To view the file, click on the file icon.
If a progress action has been added in error, click the Delete button (marked with a X) at the end of the relevant row.
To filter for particular progress actions, use the Keyword search at the top and click Filter. You can also re-order your search results or change the number of items visible per page.
¶ Contacts - Search Children
The Contacts - Search Children page will list all of the children to whom this Contact has been allocated.
Click Search to view all children or use the search terms to find a particular child.